Delphi Fundamentals
|
|
Introduction
|
|
Delphi offers a practical and easy means of creating
computer applications. It uses Object Pascal as its core syntax and
programming logic. There are various ways you can launch the program. The
most common way consists of clicking.
To create a shortcut on the desktop, in Microsoft
Windows higher than Win95, you can click Start -> (All) Programs ->
Embarcadero RAD Studio 2010, and right-click Delphi 2010. You can click
Pin To Start Menu to permanently add it to the Start Menu in the same
group with Internet Explorer. You can click Send To -> Desktop (Create
Shortcut), which would create a Delphi shortcut on the desktop.
|
|
An Integrated Development Environment (IDE) is an
application that provides a friendly interface for creating computer
programs. Delphi’s IDE is structurally a classic application. On top, there
is a title bar that displays the name of the application and the program
currently running. The title bar itself is made of three sections.
To create a computer application in Delphi, you start
with a project. A project is a collection of files that, when put together,
represent an object that can be executed on various computers (including
those that don't have Delphi). There are different types of applications you
can create and thus different ways to start a project.
To create a Windows application, on the main menu, you
would click File -> New -> VCL Forms Application - Delphi:

This action starts a project and displays a rectangular
object called a form.
A new type of application becoming popular and wholly
supported in the VCL involves touch screens. There is no formal application
for a touch screen. This means that, if you are developing for Microsoft
Windows 7, any type of VCL Forms Application you create has full
support for touch screen.
Normally, there is nothing much you have to do for
your application to be usable on a touch screen: it is simply ready by
virtue of creating a VCL Forms Application. Still, there are details you
should pay attention to.
If you want to create applications for the touch screen,
you must first have a touch screen. The prices of touch screens are coming
down but like every time a new hardware product is getting in the industry,
it starts with high prices. In most cases, 15 inches touch screen monitors
currently cost as much as 22 inches regular monitors. With some luck and
microscopic searching, you can find a good touch screen monitor at a
resonable price. For example, we were able to get a 23" ACER touch screen
monitor for less than $390 and it works fine. When purchasing a touch
screen, the size is one of the first details you will pay attention to. In
some cases, small monitors can be fine for such businesses as department
stores or supermarkets. In such bunisses, employees use their fingers that
they directly apply to the screen. Employees on those businesses also
usually have clean hands. There are other categories of businesses where
touch screens are welcome such as car repair stores and warehouses.
Employees in those businesses tend to wear gloses while using the touch
screen. If you are purchasing touch screen monitors for such businesses, the
bigger the screen the better.
Delphi allows you to create an "experimental"
application that would disappear when you close Embarcadero RAD Studio. To
use such an experimental application, start by creating a project, do
whatever you want with it, including adding other items and resources as we
will see throughout our lessons. While using the project, don't save it.
If you want to keep everything you have done in a
project and continue it another time, you must save the project. Also, if
you want to be able to distribute your application to other computers, you
must save it.
To save a project, on the main menu, you can click File
-> Save All or File -> Save Project As... An alternative is to click the
Save All button
A program would not mean much unless it accomplishes the
desired purpose. To examine how your development is proceeding, you should
regularly ask Delphi to show you the result.
There are three ways you can execute a program in
Delphi. To execute a program:
Remember that you can do almost anything without, or
before, saving a project. This means that you can execute a project even if
it has not been saved already.
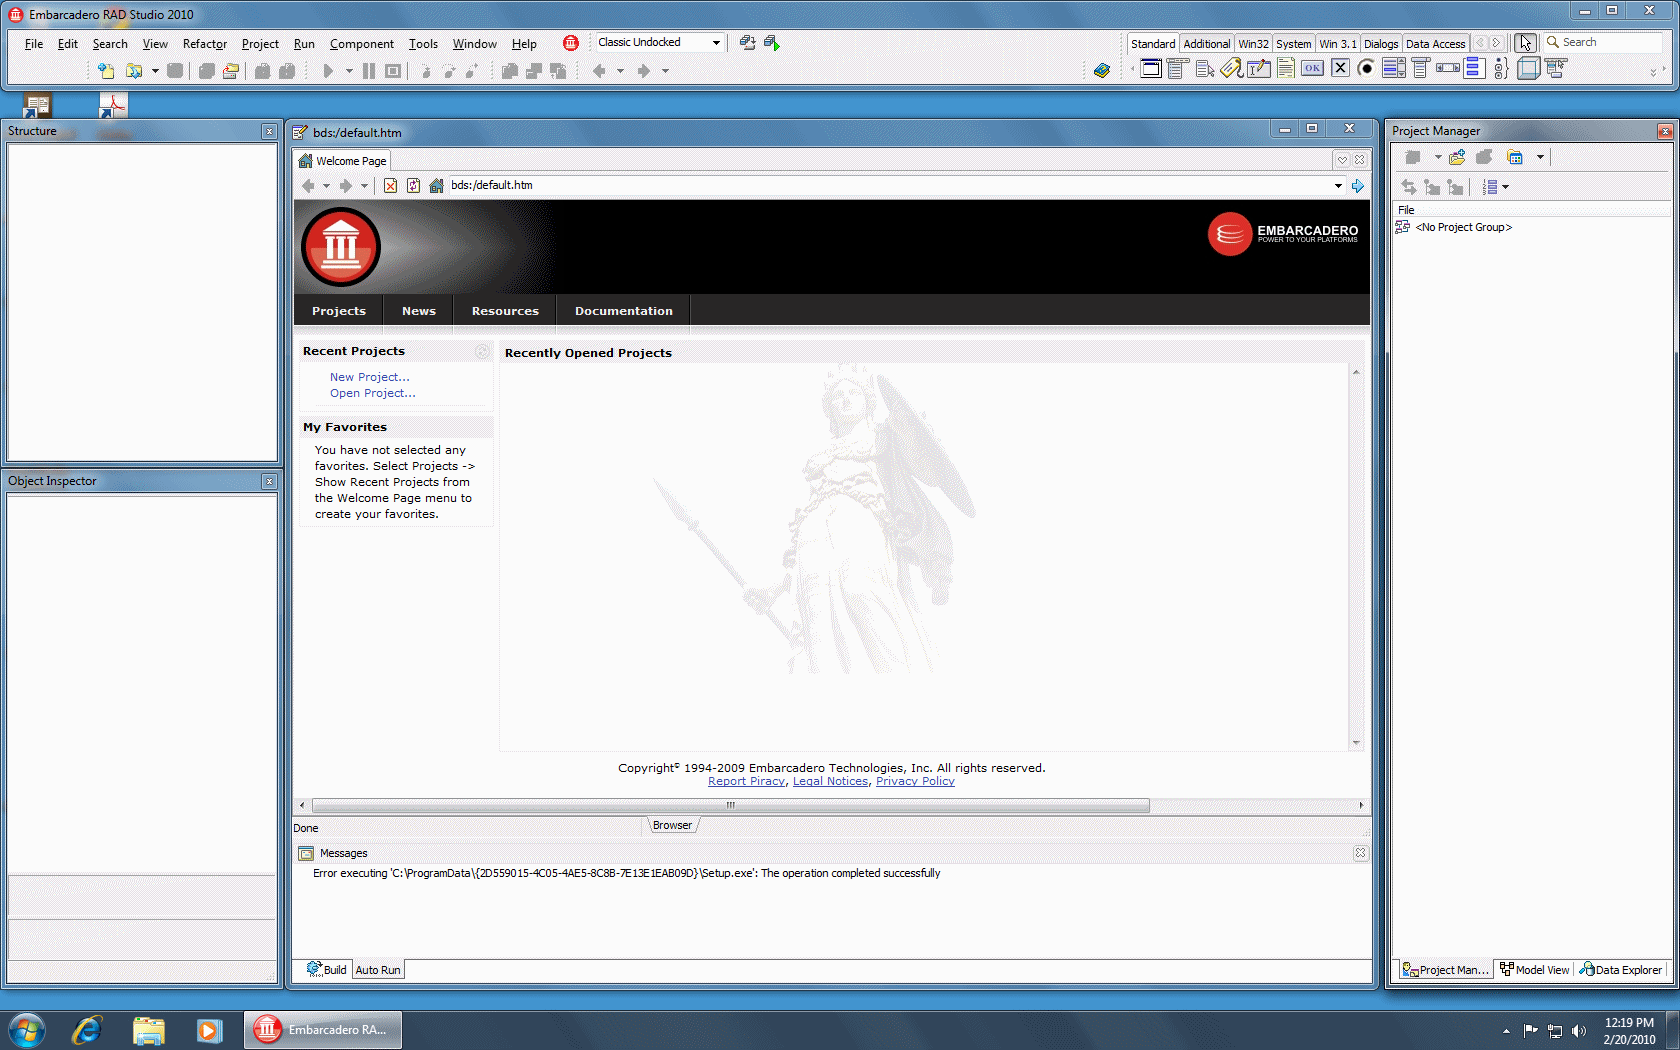
If you had used early versions of Delphi (<= 6), you may
be familiar with its thoughtful style that used independent objects. That
is, each window of the programming environment was not connected to the
other. Each window could be dragged from one side to another without any
effect on the other window. This was an unusual design that presented many
options. If you want, you can get that interface.
To get the classic view, on the main menu, click View ->
Desktop -> Classic Undocked:
The title bar is a horizontal bar that signals the
application to the operating system:
The title bar displays the system icon

The main section of the title bar displays Embarcadero
RAD Studio 2010. On the right section of the title bar, there are three
system buttons with the following roles:
Under the title bar, the main menu displays its various
groups of menu items.
If you press F10, the main menu receives focus and a
letter becomes underlined on each word of the menu. Examples would be F in
File, E in Edit, etc. The underlined letter is called an access key. It
allows you to access the same menu item using the keyboard. In order to use
an access key, the menu should have focus first. The menu is given focus by
pressing either the Alt or the F10 keys.
When the menu has focus and you want to dismiss it,
press Esc.
On some menu items, there is a combination of keys we
call a shortcut. This key or this combination allows you to perform the same
action on that menu using the keyboard.
If the shortcut is made of one key only, you can just press it. If the shortcut is made of two keys, press and hold the first one, while you are holding the first, press the second key once and release the first key. Some shortcuts are a combination of three keys.
The About dialog box allows you to get some information
about Delphi and the operating system. To access the About dialog box, on
the main menu, you can click Help -> About Embarcadero® Delphi®.
Alternatively, on the right side of the main menu, there is a Delphi button

From now on, in our lessons,
A toolbar is an object made of buttons. These buttons
provide the same features you would get from the menu. Under the menu, the
IDE is equipped with various toolbars. To see the list of available
toolbars, you can right-click the one under the main menu:

You can move a toolbar from its default position to
another area on the screen. To do this, you can click and drag it away. To
position the toolbar back or to somewhere else, you can drag its title bar
to the desired location
In our lessons, every toolbar is referred to by its name
A toolbar is equipped with buttons that could be
unpredictable. Just looking at one is not obvious. The solution to knowing
what a button is used for is to position the mouse on top of it. A tool tip
also called a hint will come up and display for a few seconds:

Besides designing applications, one of your most regular
jobs will consist of writing code that directs the computer as to what to
do, when, and how to do it. This is done in an appropriate window called the
Code Editor.
The Code Editor is a feature-rich text editor adapted
for coding purposes. It is programmed to recognize the parts of a program
that belong to Pascal or not. To access the Code Editor, if you have a form
opened, you can press F12. The Code Editor manages your jobs by organizing
its files into property pages (also called tabs). If your project contains
more than one file, you can click the desired tab to access one of the
files.
The basic building block of a program is called a code
file. Whenever you create a new project, the Delphi programming environment
creates a Pascal file called Unit1 while the project is called Project1. If
you want, you can change these names by saving the project.
To display the code file of the form, you can click the
Design tab. To change the displaying of the form and its code, on the main
menu, you can click View -> Toggle Form/Unit. At any time, for example if
the programming environment is displaying something other than the form, to
display the form, on the main menu, you can click View -> Forms... This
would display the list of forms of the application. You can then click the
desired form and click OK.
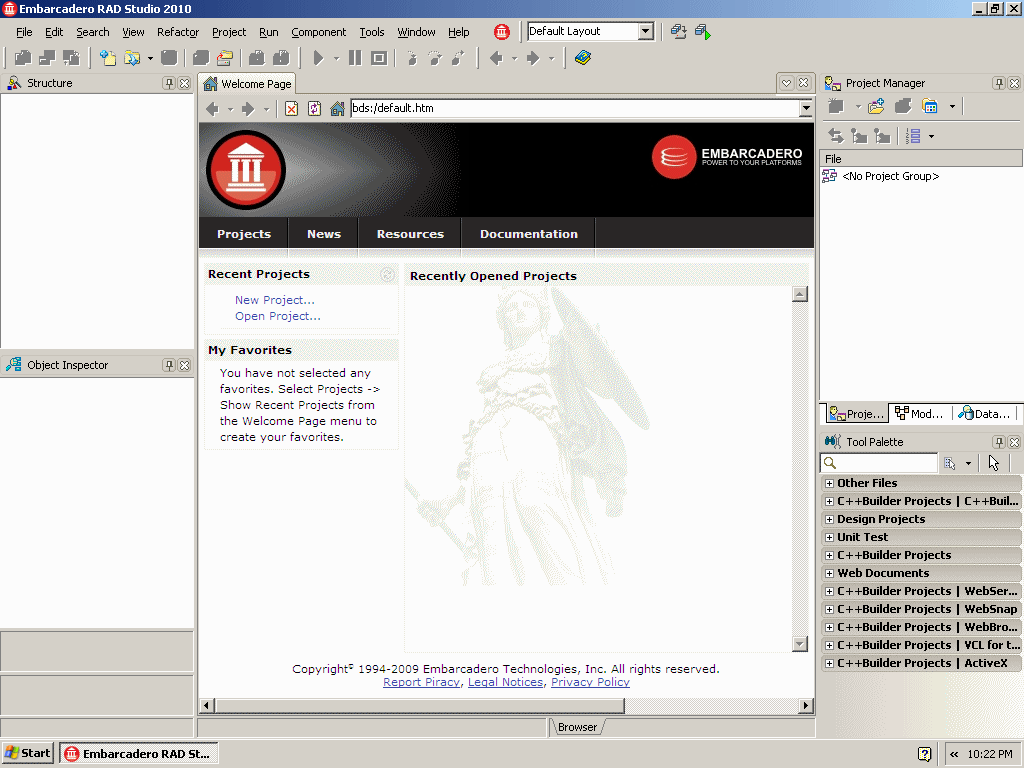
The Welcome Page is the first wide area that appears
when Delphi comes up. The section displays a title as Recent Projects. At
any time, to display the Welcome Page:
If you have just installed Delphi or have not previously
opened a project, the Recent Projects section would be empty. Once you start
creating and using projects, they display in the Recent Projects section by
their names.
When you start or open a project, Delphi makes some
windows available. These are the most regularly used windows. If you think
that one of them is not regularly used in your types of assignments, you can
remove it from the screen. To hide a window, you can click its Close button
All of the windows you can use are listed in the View
menu. Therefore, if a window is not displaying, you can click View on the
main menu and click a window of your choice.
When creating your applications, you will use a set of
windows that each accomplishes a specific purpose. Some windows are
represented with an icon but hide the rest of the body. To display such a
window, you can position the mouse on it. This would expand the window:

If you expand a window, it would display a title bar
with two buttons. One is called Auto Hide and the other is the Close button:

If you expand a window but find out you don't need it
any more, you can just move the mouse away from it. The window would return
to its previous state. Based on this functionality, if you are working with
a window and move the mouse away from it, it would retract. If you need it
again, you would have to reopen it using the same technique. If you are
going to work with a certain window for a while, you can keep it open even
if you move the mouse away. To do this, you can click the Auto Hide button.
If clicked, the Auto Hide button changes from pointing left to pointing
down:
 |
|||||||||||||||||||||||||||||||||||||||||||||||||||||||||||||||||||||||||||||||||||||||||||||||||
 A menu that is disabled is not accessible at the moment. This kind of
menu depends on another action or the availability of something else
A menu that is disabled is not accessible at the moment. This kind of
menu depends on another action or the availability of something else

By default, Delphi installs some windows to the left and
some others to the right of the screen. You can
change this arrangement if
you want. To do this, expand a window, then click its title bar and start
dragging.
To position a window on one side of the screen, drag its title bar
to that side. When you get to a side, a transparent
blue rectangle would be
drawn to indicate the possible position:

OR

OR

You can dock a window only if it is dockable. This means
that some windows, such as the Code Editor,
are not dockable. To find out
whether a certain window is currently docked, right-click its body and
notice
that the Dockable option is checked:

If a window is dockable but you want to prevent yourself
from (accidentally) docking it, right-click its
body and click Dockable. The
check box would be removed from the Dockable option and then, if you
drag
the window to another location, it cannot be docked.
Most of the windows you will use are positioned on one
side of the screen. If you want, you can have a
window that stays on top of
other windows but cannot be "glued" to one side. Such a window is said
to
float. To float a window, drag its title bar and release it somewhere in
the middle of the screen but not on
a side because, while dragging, if you
release the mouse on one of the sides, and if the window is dockable,
it
would assume the position of where you released the mouse.
You can make two or more windows share one side of the
screen or to share an area. To do this, first expand
and fix the window that
you will use as foundation (or reference). Then, drag the title bar of the
window
that will share the area:
This

Produces

Or this

Produces

Or this

Produces

In the same way, you can make two or more windows share
the same area.
|

No comments:
Post a Comment